Living in my shoebox apartment for almost two years now has made me a pro at transforming thrifted finds and leftover supplies into something stylish (and budget-friendly!). I mean, who needs a giant space when you can get creative, right?
My latest project tackled a tired zebra-print ottoman that was begging for retirement. Reupholstering could have worked, but this time, I craved an industrial vibe. Enter the world of online browsing, where I stumbled upon a gorgeous distressed steel table. 😍 Except, the price tag?
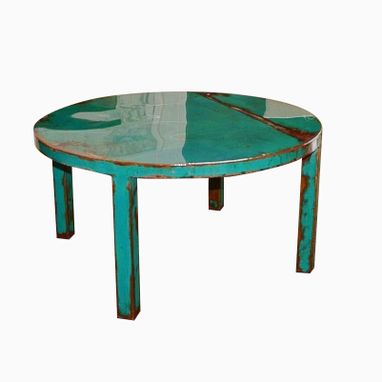
Inspiration Table: by Made by John-Patrick Mcchesney
Challenge accepted! Inspired by the beauty (and hefty cost) of this table I decided to create my own version.
Craigslist Savior:
First stop: Craigslist. Scored a beat-up steel table practically begging for a makeover. Immediate delivery, please! Next, a few trips to my local hardware store, and I was armed and ready for some DIY magic.
The Makeover Magic:
Stay tuned for the next post, where I'll walk you through the process of transforming this rusty relic into a stunning industrial coffee table with layers of paint, a touch of distressing, and a glossy finish. Spoiler alert: it won't cost you an arm and a leg!
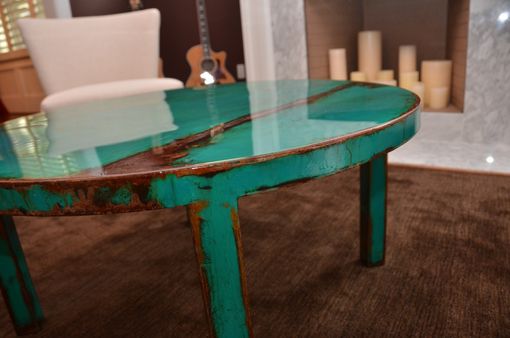
Fast forward to a fun (and slightly messy) afternoon of painting, distressing, and adding a touch of shine, and this beauty was born!
The best part? The total cost was around $50, including the table itself, supplies, and a few trips for coffee breaks (hey, a creative mind needs fuel!).
Now, I gotta confess, the finished product turned out so incredible, it sparked a little something inside me. Maybe media planning wasn't my one true calling after all? This little DIY project had me seriously considering a whole new career path in furniture flipping.
Long story short, I listed the table online and...well, let's just say it sold faster than you can say "industrial chic." For a cool $500 profit! Not bad for a weekend project, right?
The moral of the story? A little creativity, some elbow grease, and a Craigslist score can turn into something truly amazing. Plus, who knows? You might just discover a hidden talent for transforming trash into treasure (and maybe even a new side hustle). Stay tuned for more adventures in DIY furniture flipping – your next statement piece might be just a dumpster dive away!


.JPG)